Want to take a screenshot on your Mac but don’t know How to Screenshot on Mac ? You’re not alone.
Whether you’re trying to capture your entire screen, a specific window, or just a selected area — macOS makes it super easy once you know the right shortcuts.
In this step-by-step guide, I’ll walk you through exactly how to screenshot on Mac — no fluff, just simple, clear instructions anyone can follow.
Let’s dive in.
Method 1: Capture the Entire Screen
✅ Keyboard Shortcut:
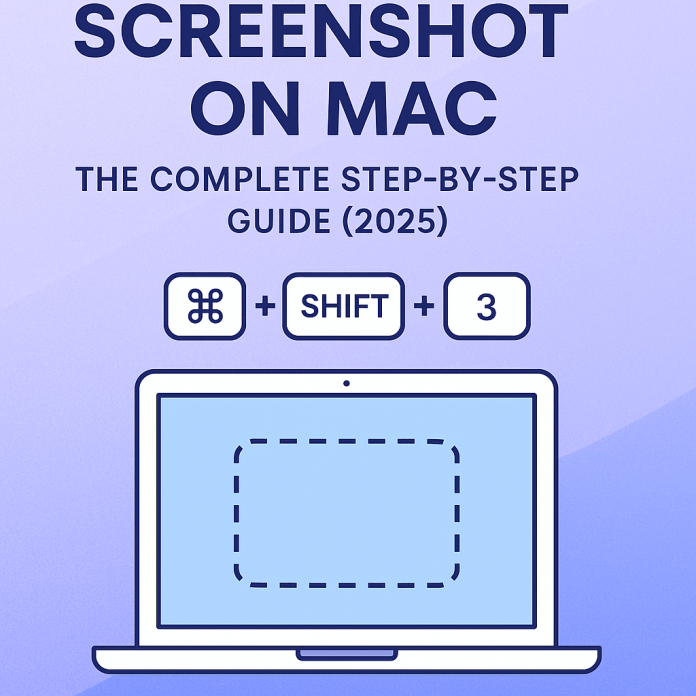
Command (⌘) + Shift + 3
Steps:
-
Go to the screen you want to capture.
-
Press Command + Shift + 3.
-
You’ll hear a shutter sound (if your volume is on).
-
The screenshot will automatically save to your desktop by default.
Result: Full screenshot of everything visible on your Mac screen.
Method 2: Capture a Selected Portion
✅ Keyboard Shortcut:
Command (⌘) + Shift + 4
Steps:
-
Press Command + Shift + 4.
-
Your cursor will change to a crosshair.
-
Click and drag to select the area you want to capture.
-
Release the mouse or trackpad — done!
Tip: Hold Spacebar while dragging to move the selection box.
Method 3: How to Capture a Specific Window on Mac
✅ Keyboard Shortcut:
Command (⌘) + Shift + 4, then Spacebar
Steps:
-
Press Command + Shift + 4.
-
Tap the Spacebar — your cursor becomes a camera icon.
-
Hover over the window you want to screenshot.
-
Click once — boom! Screenshot saved.
Note: This works great for capturing app windows, Finder, or dialog boxes.
Method 4: Use the Screenshot Toolbar (Best for Beginners)
✅ Keyboard Shortcut:
Command (⌘) + Shift + 5
Steps:
-
Press Command + Shift + 5.
-
A small toolbar will appear at the bottom of the screen.
-
Choose from:
-
Capture Entire Screen
-
Capture Selected Window
-
Capture Selected Portion
-
Record Screen (video!)
-
-
Click “Options” to set timer, save location, and more.
-
Hit “Capture” when ready.
Perfect if you prefer using a visual interface.
Where Do Screenshots Go on Mac?
By default, screenshots are saved on your Desktop with the filename like:Screen Shot [date] at [time].png
You can change the save location using the Screenshot Toolbar > Options, or using Terminal commands (advanced users).
Bonus: Copy Screenshot to Clipboard
Want to paste the screenshot directly into a document or message?
Just hold Control while using any of the shortcuts.
Example:
Command + Shift + Control + 4 – copies selected area to clipboard instead of saving it.
Then press Command + V to paste it.
⚙️ Using Preview or Third-Party Apps
-
Preview App: Open Preview → File → Take Screenshot → Choose your option.
-
Third-party tools: Apps like Snagit, CleanShot X, or Lightshot offer more editing and annotation features.
How to Screenshot on MacBook Pro with Touch Bar
If your Mac has a Touch Bar:
Shortcut:
Command + Shift + 6 – Captures what’s currently on your Touch Bar!
Quick Recap – Mac Screenshot Shortcuts Cheat Sheet
| Action | Shortcut |
|---|---|
| Entire screen | ⌘ + Shift + 3 |
| Selected area | ⌘ + Shift + 4 |
| Specific window | ⌘ + Shift + 4, then Space |
| Screenshot toolbar | ⌘ + Shift + 5 |
| Touch Bar | ⌘ + Shift + 6 |
| Copy to clipboard | Add Control to any shortcut |
❓ FAQs About Screenshots on Mac
Q: Can I change where screenshots are saved on my Mac?
Yes! Press ⌘ + Shift + 5, click “Options,” and select your preferred folder.
Q: Can I edit screenshots after taking them?
Absolutely. After you take a screenshot, click the thumbnail in the bottom-right to edit, crop, or annotate it right away.
Q: Why aren’t my screenshots saving?
Check if:
-
You’ve changed the default save location.
-
You’re pressing Control (which only copies to clipboard).
-
Your disk has enough space.
Final Thoughts
Now that you know how to screenshot on Mac in multiple ways, you’re ready to capture anything — fast and easy.
Whether you’re snapping an entire screen, a single window, or just a small section, these Mac screenshot shortcuts will save you time and boost your productivity.
So go ahead — take that screenshot like a pro!

